TABLE OF CONTENTS
Why Are My LED Strip Lights Not Sticking?
LED strip lights have become a popular choice for both residential and commercial lighting due to their versatility, energy efficiency, and aesthetic appeal. However, one common issue that users may encounter is when the adhesive backing fails to stick properly. In this blog post, we will explore the reasons why LED strip lights may not adhere as intended, the suitable surfaces for proper adhesion, and what to do if your LED lights are not sticking as they should.

Reasons Why LED Strip Lights Not Sticking :
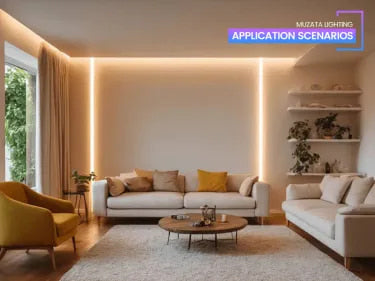
Imagine decorating your cozy living room with vibrant LED strip lights, carefully attaching them to the surface of a dry wall to create a warm ambiance. However, within a few days, you start noticing that the LED strips are peeling off, leaving unsightly gaps and disrupting the intended lighting effect. Despite numerous attempts to reattach them, the lights stubbornly refuse to stay in place, why ?

Check whether the surface you install LED strip light is clean. A dirty or dusty surface can hinder the adhesive's effectiveness. It's essential to ensure that the mounting surface is clean, dry, and free from debris before applying the LED strip lights.

Some surfaces may require additional preparation to enhance adhesion. For example, glossy or non-porous materials like glass or metal may benefit from gentle sanding or using a primer before sticking the LED lights.
Properly applying pressure along the length of the strip ensures optimal contact between the adhesive and the mounting surface. Insufficient pressure can result in poor adhesion.
Surfaces That are Suitable for LED Strip Light Adhesion :
- Smooth and Clean Surfaces
- Non-Porous Materials
- Surfaces with Minimal Vibrations
Solutions for LED Lights That Won't Stick :
-
Surface Preparation:
-
Clean the mounting surface: Use a mild detergent or alcohol solution to thoroughly clean the area where you plan to mount the LED strip lights. Ensure that the surface is completely dry before proceeding.
-
Enhance adhesion for non-porous surfaces: If the mounting surface is non-porous, such as glass or metal, consider lightly sanding the area to create a slightly rougher surface. Alternatively, use a primer specifically designed for improving adhesion on non-porous materials.
-
-
Applying Pressure:
- During installation, firmly press the LED strip lights onto the mounting surface along the entire length of the strip. Applying even pressure ensures that the adhesive makes strong contact with the surface, promoting better adhesion.
-
Alternative Mounting Methods:
-
Mounting channels: Consider using mounting channels specifically designed for LED strip lights. These channels provide a secure and clean way to install the lights, offering both protection and improved adhesion.
-
Adhesive clips and brackets: Utilize adhesive clips or brackets to support the LED strip lights in areas where the adhesive backing alone may not be sufficient.
-
Specialized adhesive tapes: Look for specialized adhesive tapes that are formulated for use with LED strip lights. These tapes are designed to provide strong adhesion on various surfaces.
-
- Seek professional assistance: If the LED strip lights continue to have adhesion issues or if you are unsure about the best course of action, consult a professional electrician or lighting specialist who can provide guidance and assistance.
More Information About LED Installation :


